
How To: Tying Spoon Flies
Almost every saltwater fly shop will have a selection of spoon flies available and if you pay close attention and compare the different patterns you will notice slight differences. From the shape of the spoon, to the angle of the hook, to the amount of material tied at the bend of the hook; it all factors in to how the spoon sinks, wobbles, and flutters in the water. The spoon fly excels by flashing and emitting low frequency vibrations as it works its magic in the water. It is most effective when placed in front of a fish and then pausing your retrieve to allow it to sink and flutter down in front of them. They simply cannot resist the flicker and wobble as it shimmers down in front of them.
Tying the spoon fly is relatively easy and will be one of the most durable flies in your fly box. Just a few simple materials is all you need to get started.

FLY TYING MATERIALS
(scroll down to the bottom to see the color list for six effective color combinations)
Tail Material: Krystal Flash
Eyes: Easy Shrimp Eyes
Spoon: Spoon Fly Cutouts
Body: Holographic Flash
Thread: SCFC Mono Thread (.006)
HOW TO TIE THE SPOON FLY
STEP 1:
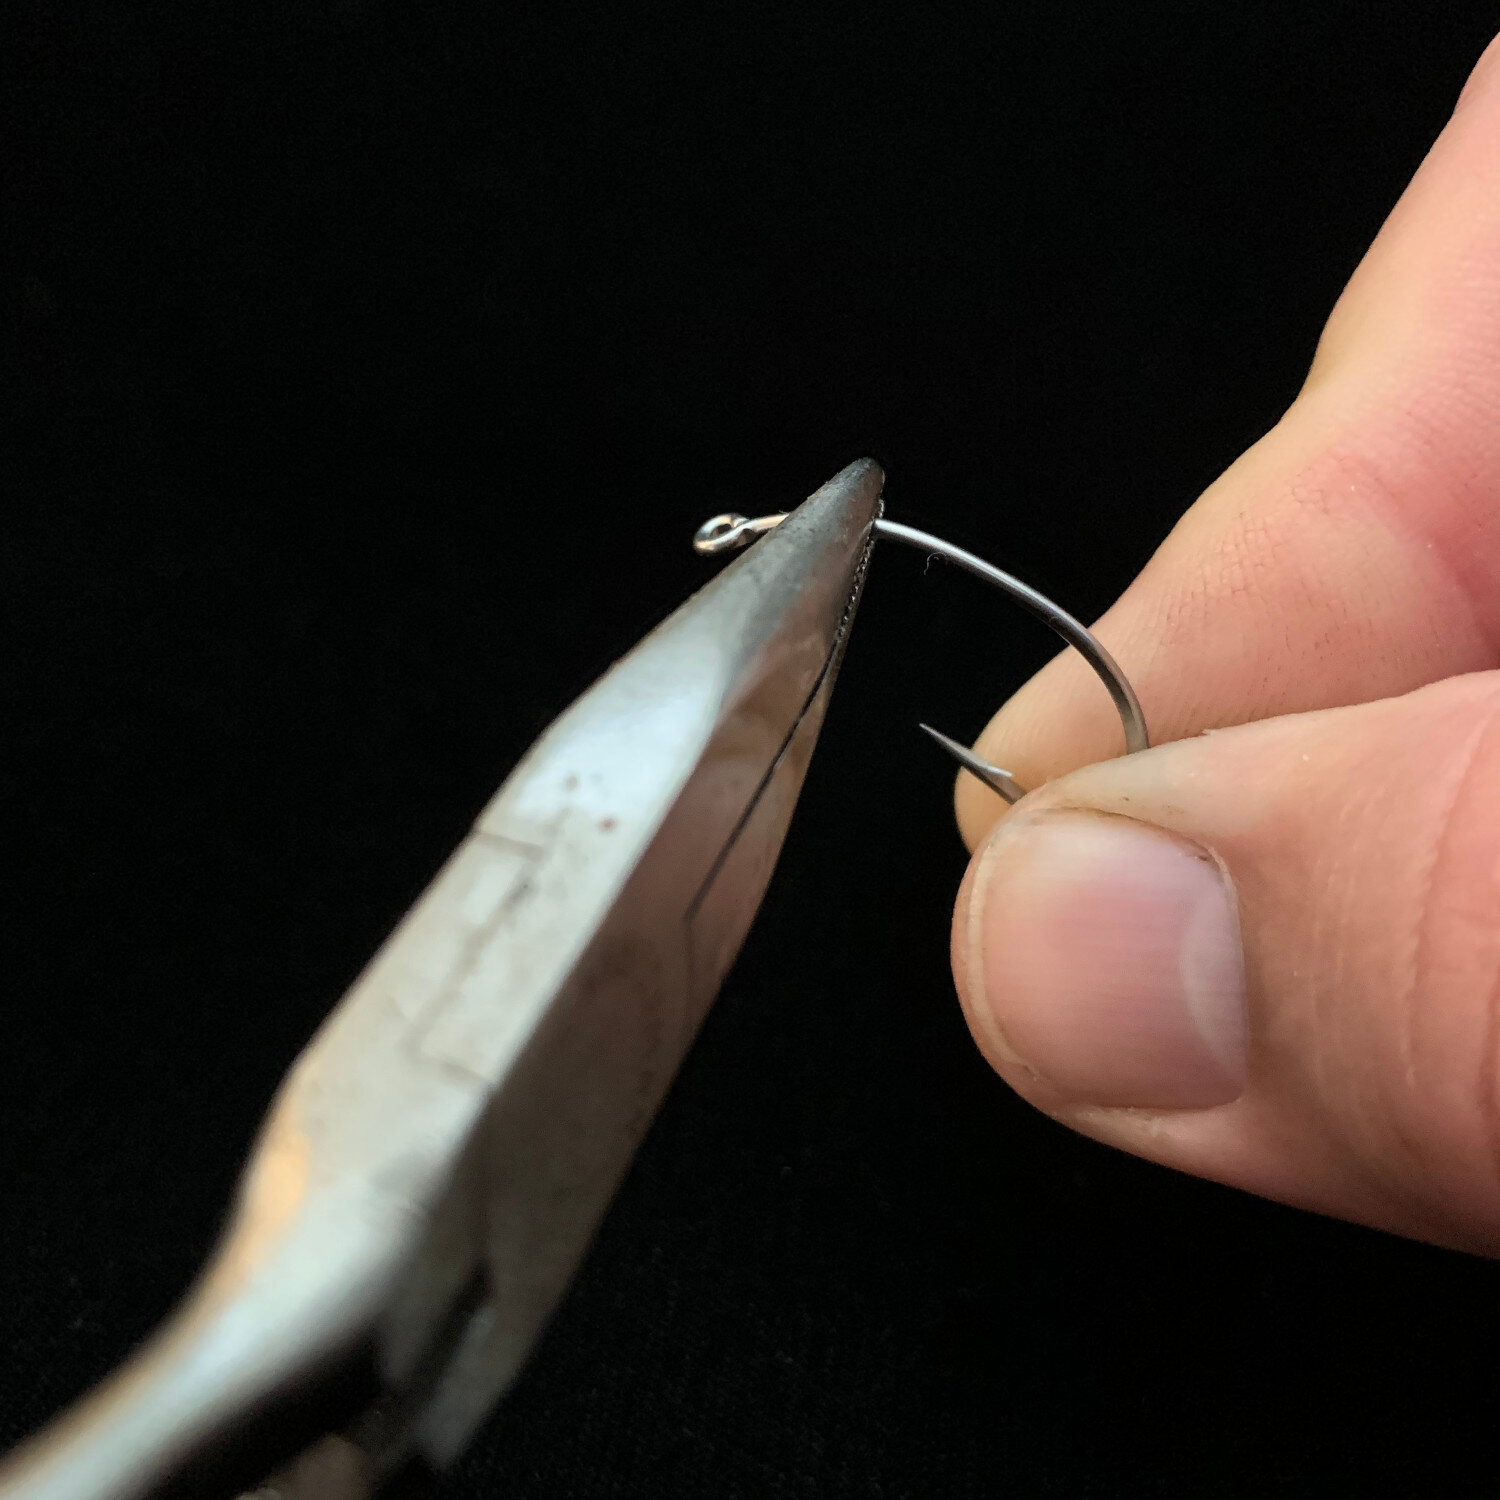
It’s important to have a hook that has a continuous curve of the hook shank, to ensure that the spoon fly will have the desired flutter movement. If you are using a conventional hook, use a pair of pliers and make few bends along the shank to form a nice gentle curve.
It’s essential to note that different brands of hooks are tempered with different techniques and temperatures. Trying to bend some brands of hooks will result in the hook breaking. If this is happening to you, try a different brand until you find one that works for you. We’ve found that Mustad and Daiichi have worked well if you are bending your own hooks.
Step 2:
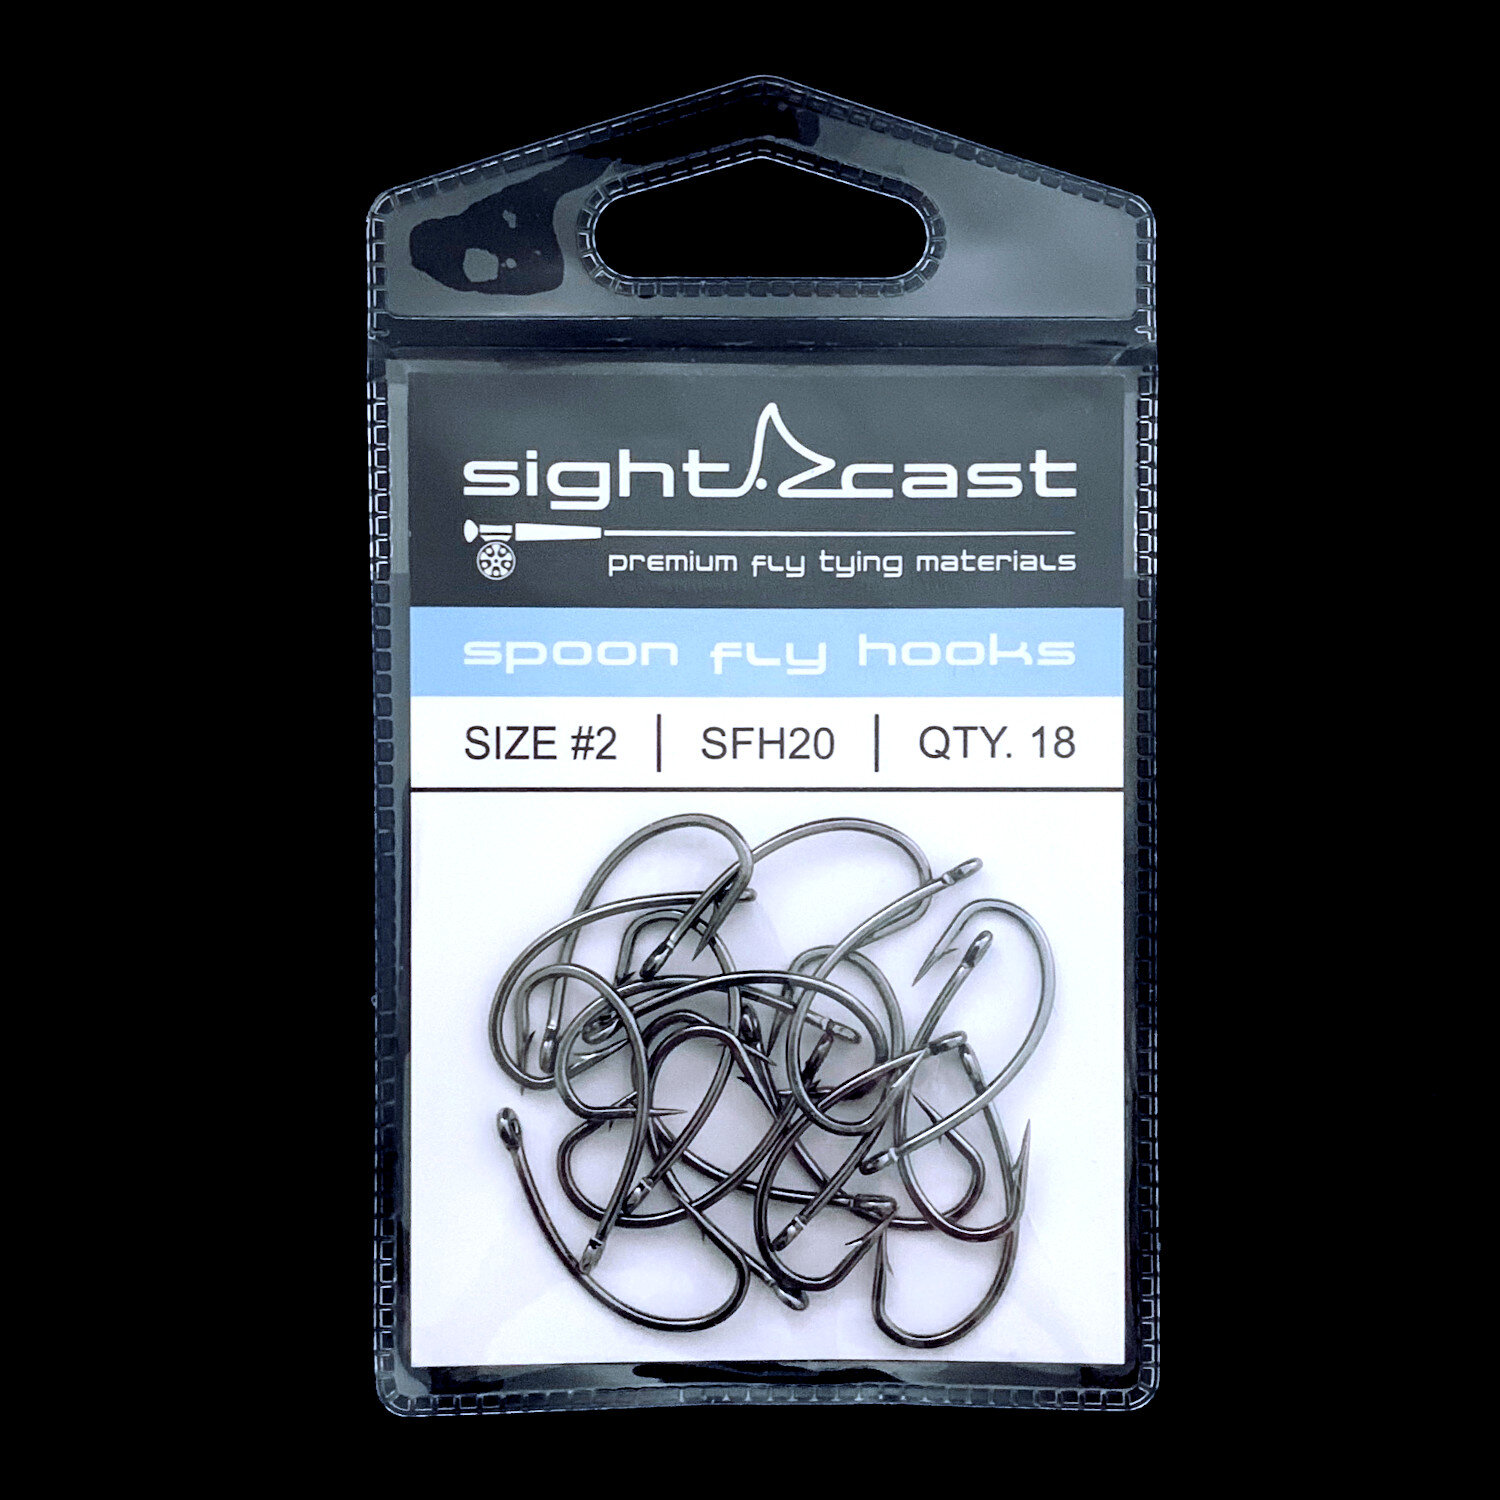
Lucky for you, you can skip step #1 and use the Sight Cast SFH20 Spoon Fly Hooks. These hooks are specifically designed for tying spoon flies. The continuous bend of the hook shank is engineered for the exact angle you need for maximum spoon movement and increased wobble effect. You also won’t have to worry about bending your own hooks and compromising the integrity of the tempered metal.
SFH20 Spoon Fly Hooks are available in two sizes and each pack contains 18 hooks.

Step 3:
Start your Mono Thread and wrap down the bend of the hook, then tie in a few strands of Krystal Flash for a tail.
Tip: Place a Spoon Fly Cutout on the hook to measure the exact location of the tie-in point for the Krystal Flash tail.

Step 4:
Tie in some Easy Shrimp Eyes on top of the hook shank and in line with the Krystal Flash tie-in location.
Note: If you are tying a “Shrimpadillo-style” spoon fly, you may want to opt for a Size #1 Spoon Fly Hook. These have a longer hook shank and are designed to provide enough room to tie in weighted eyes, silicone legs, antennae, rabbit fur, marabou, or other larger-sized tail materials.
Step 5:
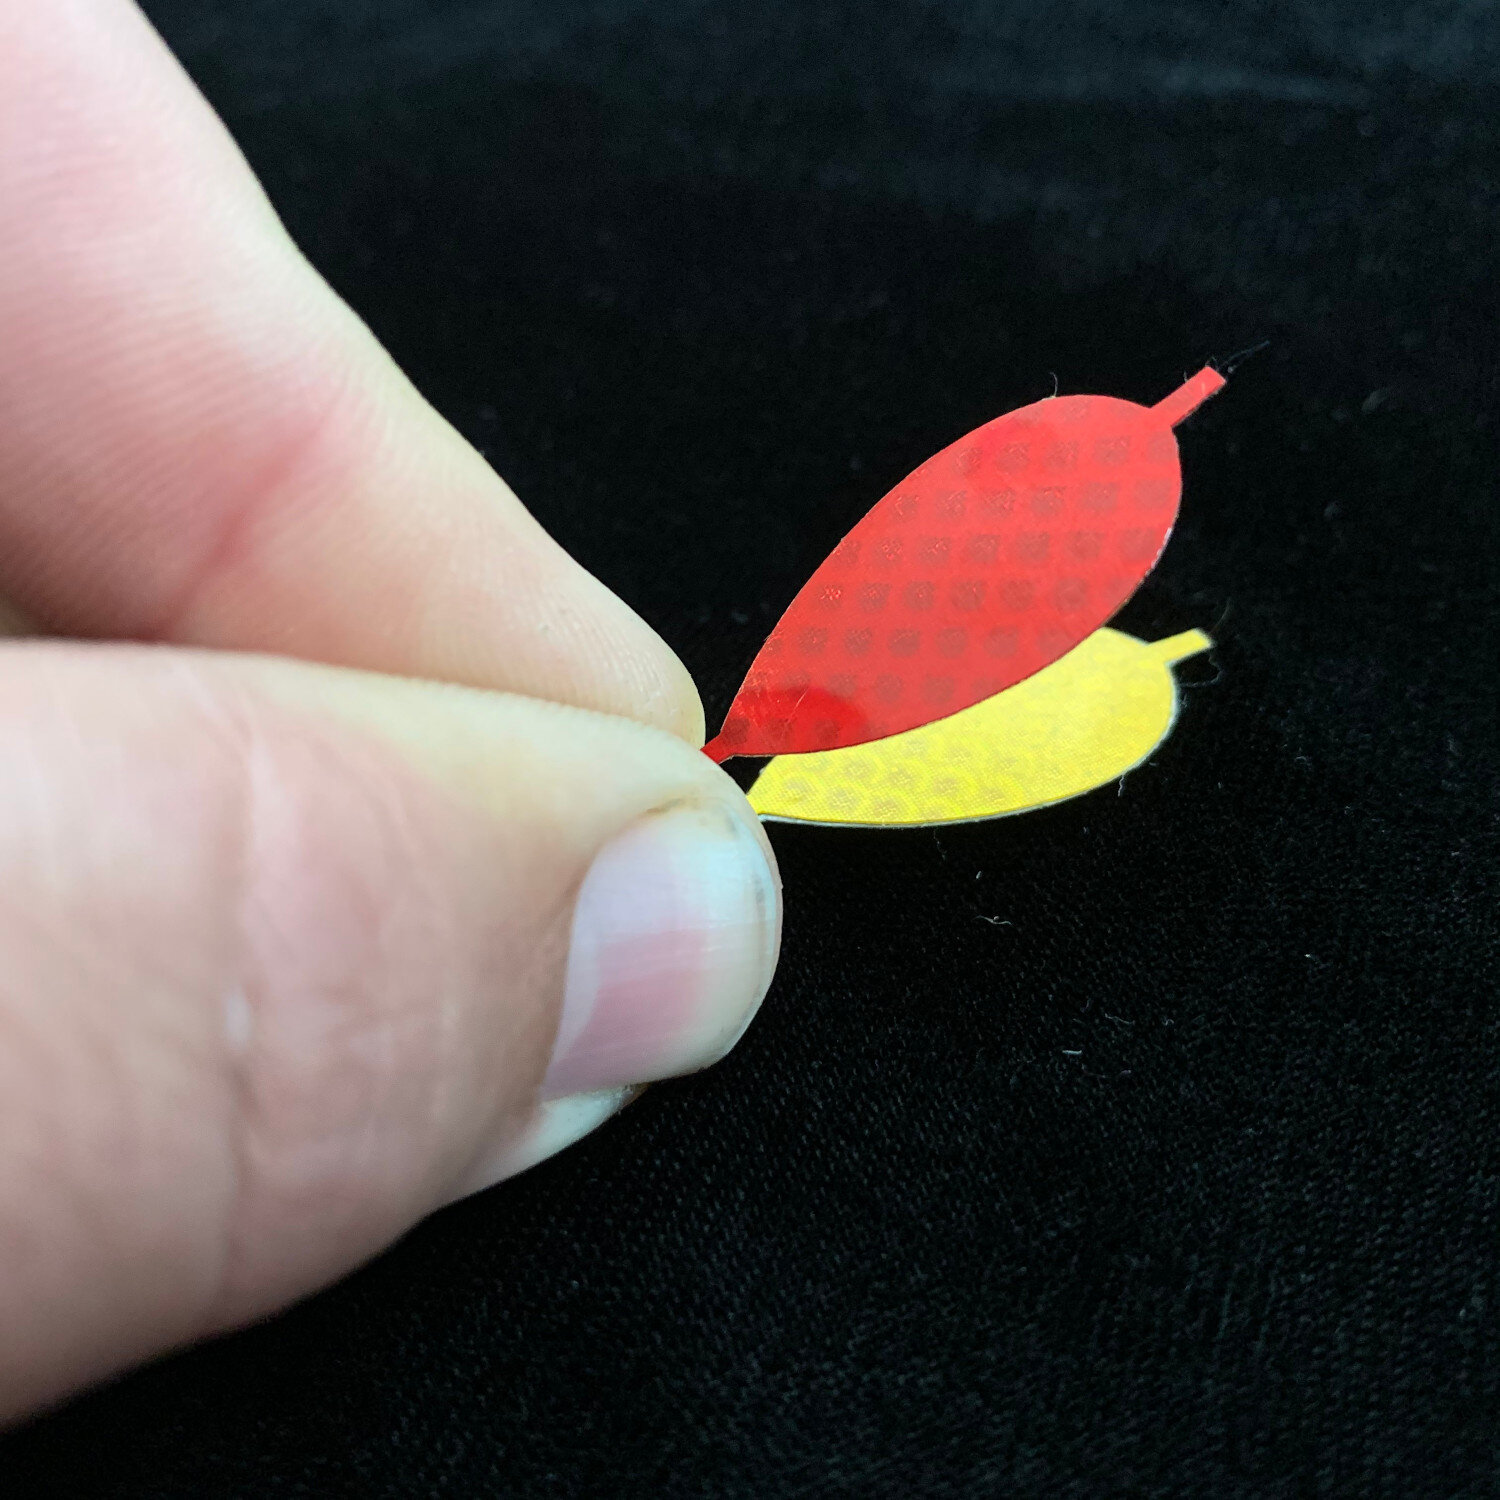
All Spoon Fly Cutouts come with an adhesive backing. Try sticking two contrasting colors together to get the desired look you’re after.
Some popular color combinations include Black/Purple, Copper/Black, Chartreuse/Silver, Shrimp Pink/Silver, and many more.
A Crushed Pearl Backing Cutout is also available to give the spoon some added texture and flash. These are designed to be applied to the back side of a regular cutout.

Step 6:
Place the spoon pointing rearward and secure the tie-in tab with a few wraps of thread.
If you are using a dual-colored Spoon Fly Cutout, be sure to put the color you want shown on top, facing down. You will be folding the spoon towards the front in the next few steps.

Available in over a dozen different colors and includes 18 cutouts per package.

Step 7:
Tie in approximately 4 strands of Holographic Flash directly in front of the spoon.
Some other common materials that can be used for the body include include Flashabou, Krystal Flash, Flat Braid, etc.

Step 8:
Wrap the Holographic Flash and cover the entire hook shank all the way to the eye of the hook.

Step 9:
Fold the Spoon Fly Cutout towards the eye of the hook and secure the front tie-in tab.
Be sure that the spoon is snug against the hook shank and not leaving any gaps.
Optional: If you want to include a weedguard, tie in a piece of 30# Mason Hard Mono (or wire) at this step.

Step 9:
Using a bodkin, cover the entire surface of the spoon with Flex Coat Lure Epoxy Gel Coat. Then place on a drying wheel until the epoxy is cured.
The epoxy gives the spoon fly added weight and extra durability.
You can also use your favorite UV Epoxy or a 5-Mintue Epoxy if you want to sacrifice added durability for a quicker cure time.

Finished:
The spoon fly has been a must-have in every saltwater fly box for a reason, they catch fish and lots of them.
The pattern is very versatile, easy to cast, highly durable, and can be tied in many variations. You can cater to any situation by adding weighted eyes, experimenting with different tail materials, incorporating some silicone legs, and many more
Take for example, the Shrimpadillo fly, it’s a combination of a crab fly, shrimp fly, and a spoon fly that’s guaranteed to get engulfed by hungry Redfish.
Gold
Tail Material: Krystal Flash - Red
Eyes: Easy Shrimp Eyes - Transparent Red
Spoon (Top): Spoon Fly Cutouts - Gold
Spoon (Bottom): Spoon Fly Cutouts - Gold
Body: Holographic Flash - Gold
Thread: SCFC Mono Thread (.006)
Silver
Tail Material: Krystal Flash - Pearl
Eyes: Easy Shrimp Eyes - White
Spoon (Top): Spoon Fly Cutouts - Silver
Spoon (Bottom): Spoon Fly Cutouts - Crushed Pearl
Body: Holographic Flash - Silver
Thread: SCFC Mono Thread (.006)
Copper
Tail Material: Krystal Flash - Rusty Brown
Eyes: Easy Shrimp Eyes - Transparent Brown
Spoon (Top): Spoon Fly Cutouts - Copper
Spoon (Bottom): Spoon Fly Cutouts - Darkened Bronze
Body: Holographic Flash - Copper
Thread: SCFC Mono Thread (.006)
Chartreuse
Tail Material: Krystal Flash - Pearl
Eyes: Easy Shrimp Eyes - Fl. Yellow
Spoon (Top): Spoon Fly Cutouts - Chartreuse
Spoon (Bottom): Spoon Fly Cutouts - Crushed Pearl
Body: Holographic Flash - Silver
Thread: SCFC Mono Thread (.006)
Pink
Tail Material: Krystal Flash - Pearl
Eyes: Easy Shrimp Eyes - Fl. Pink
Spoon (Top): Spoon Fly Cutouts - Shrimp Pink
Spoon (Bottom): Spoon Fly Cutouts - Crushed Pearl
Body: Holographic Flash - Silver
Thread: SCFC Mono Thread (.006)
Purple/Black
Tail Material: Krystal Flash - Black
Eyes: Easy Shrimp Eyes - Black
Spoon (Top): Spoon Fly Cutouts - Black
Spoon (Bottom): Spoon Fly Cutouts - Purple
Body: Holographic Flash - Purple
Thread: SCFC Mono Thread (.006)
Sight Cast Fishing Company
We provide a line of products that are designed for those that live and breathe the shallow flats and backwater marshes. Our passion is saltwater fly fishing and we aim to provide top quality flies and fly tying materials designed for the Gulf Coast fly fisherman. Many of the materials used in this fly are available in the Tying Materials section of the website. You can also purchase this fly and many others that are already tied up and ready to fish in the Fly Shop. Good luck out there on the water!